A Video Workshop With Kristi Thompson
How To Turn Plain Cotton Napkins Into Deep Indigo Patterns
I'll show you how to fold and dye your napkins, then we'll unwrap the patterns the next day. No dyeing experience needed.
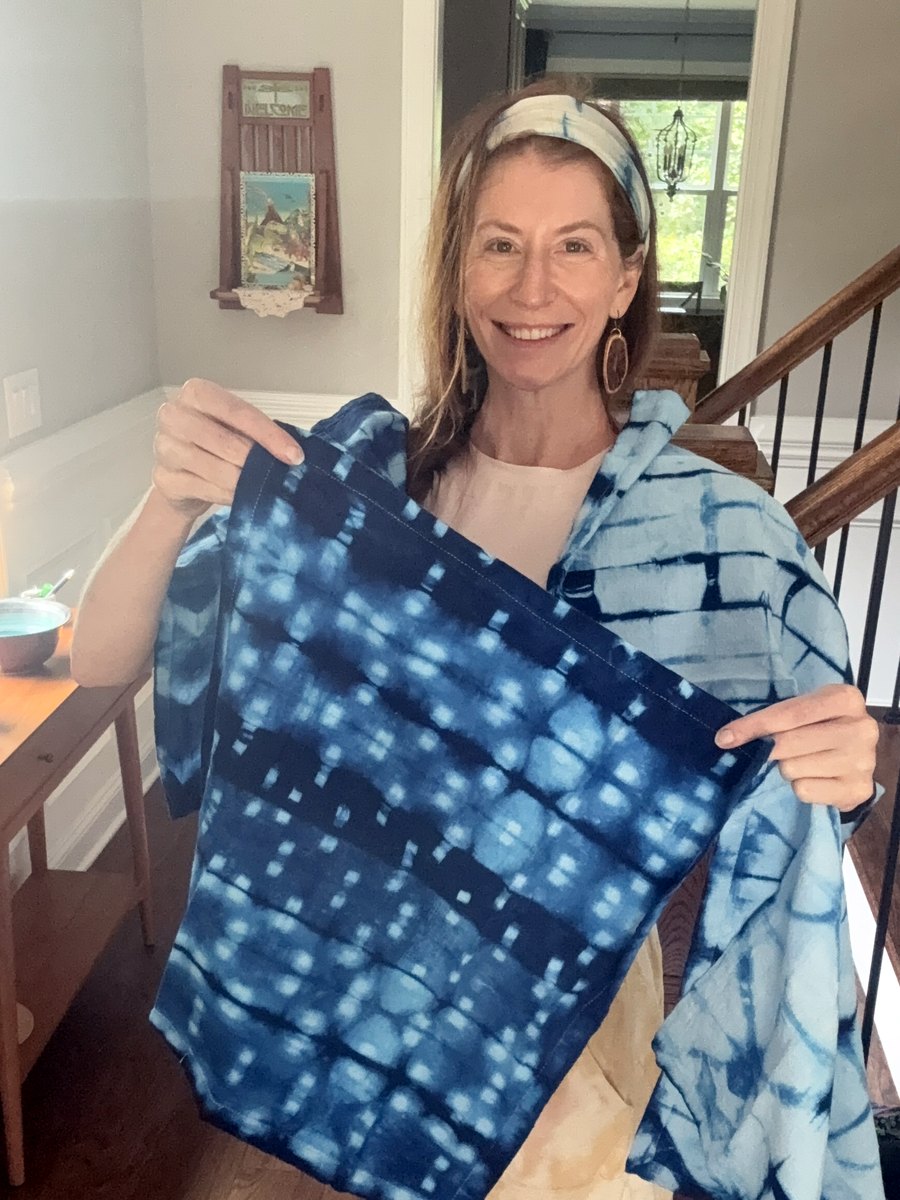
A Video Workshop With Kristi Thompson
I'll show you how to fold and dye your napkins, then we'll unwrap the patterns the next day. No dyeing experience needed.
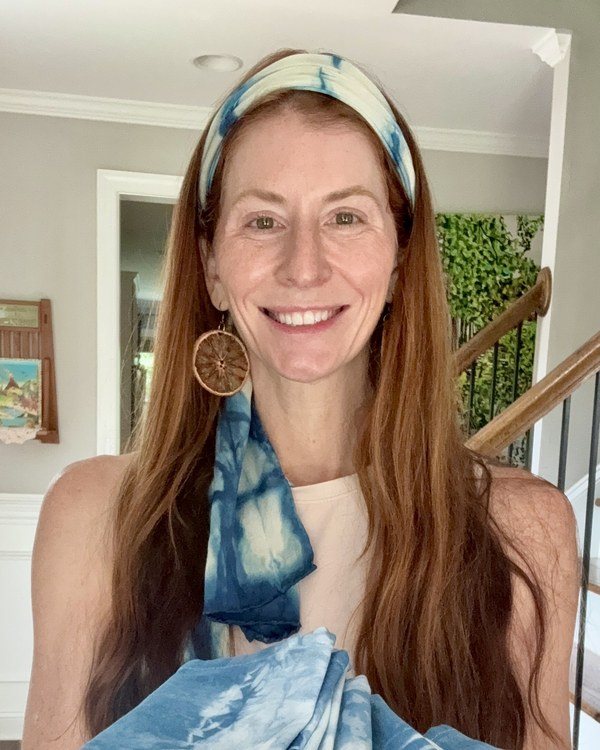
Kristi Thompson
Your shibori instructor
Hi, I'm Kristi. When I first started doing shibori, I took a lot of my partner's old t-shirts and folded and dyed them. Then I tried kitchen towels and linens, and eventually silk scarves. I love using natural materials and seeing what happens when they come out of the dye.
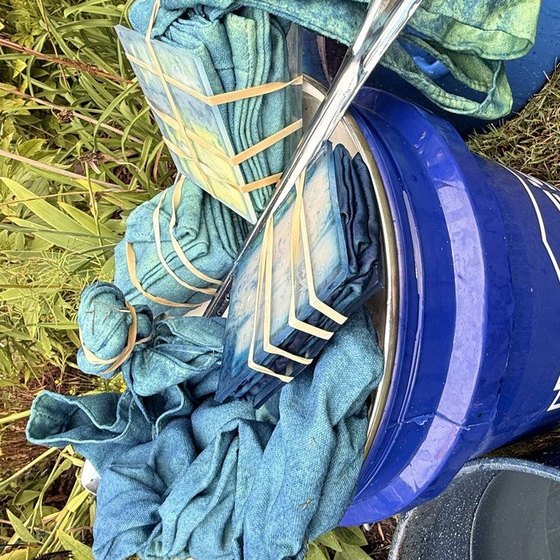
Unwrapping is my absolute favorite part. To me, it's like Christmas. I could sit there all day taking off rubber bands and opening up the fabric. I'll think the triangles are my favorite, and then I'll open the clothespin one and change my mind again.
In this workshop, we're going to make a set of napkins you can use at home. I'll show you several simple ways to fold and bind them, and we'll see how each one comes out. Some of my folds are uneven. One of my napkins comes out mostly white. That's all part of trying things, and you'll see those pieces too.
Module 1
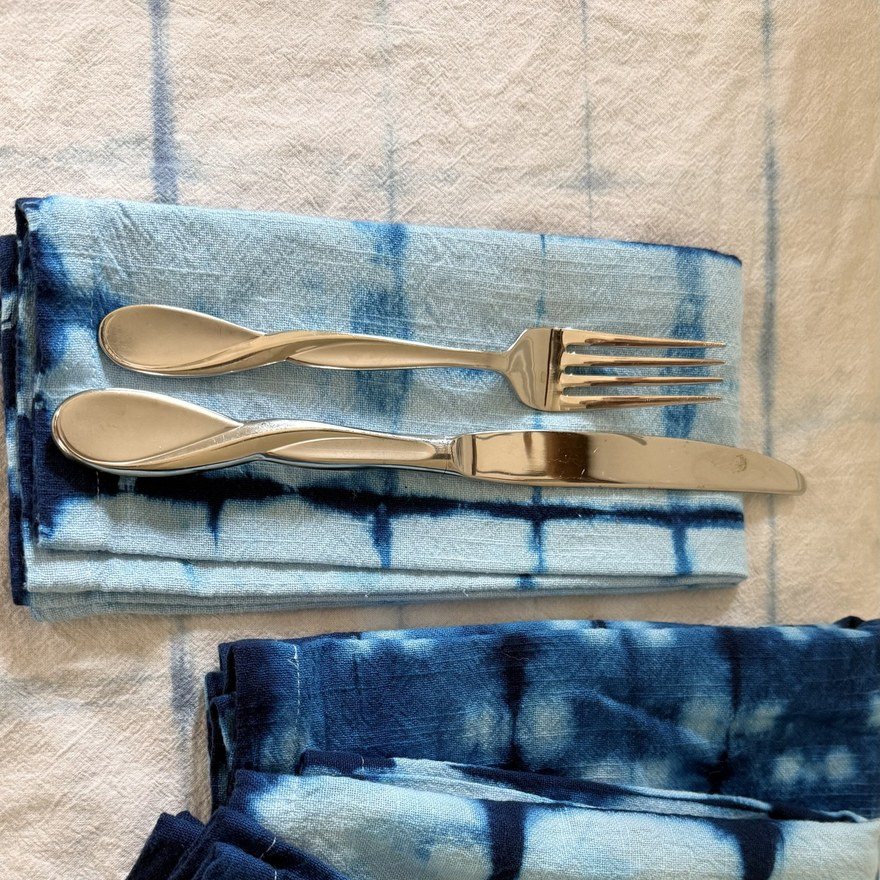
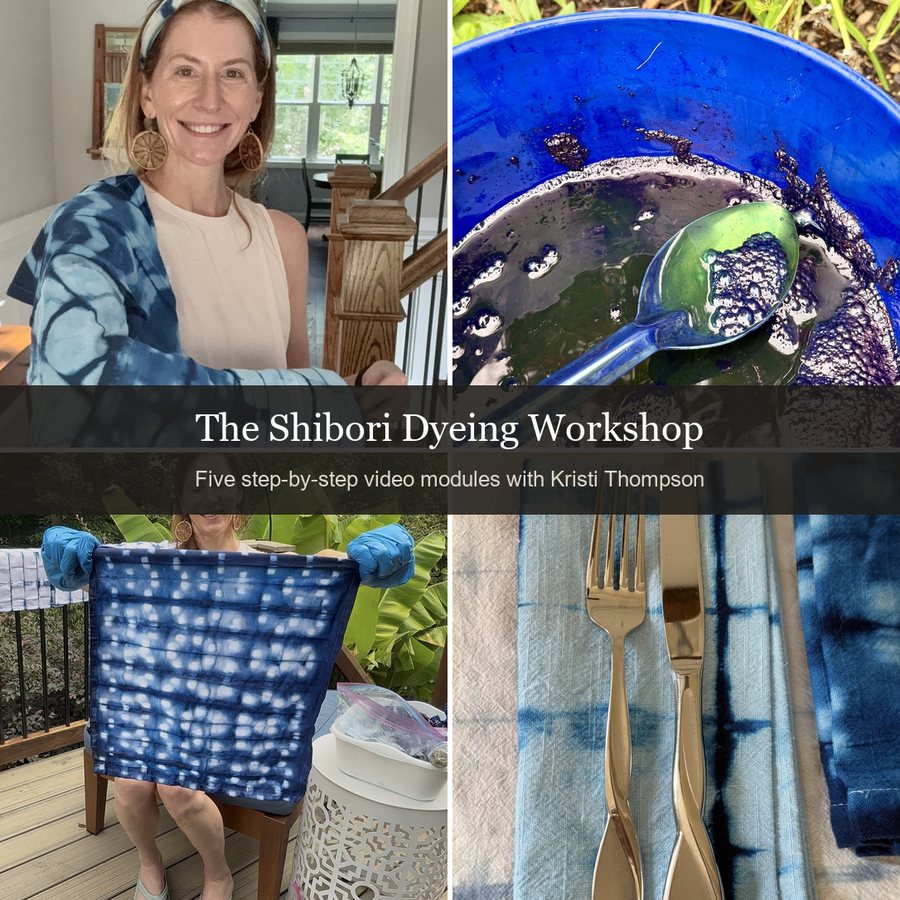
I'll start with some finished napkins so you can see the patterns we're going to try. Shibori can get very elaborate, but we're working with simple folds and bindings to begin with.
Module 2
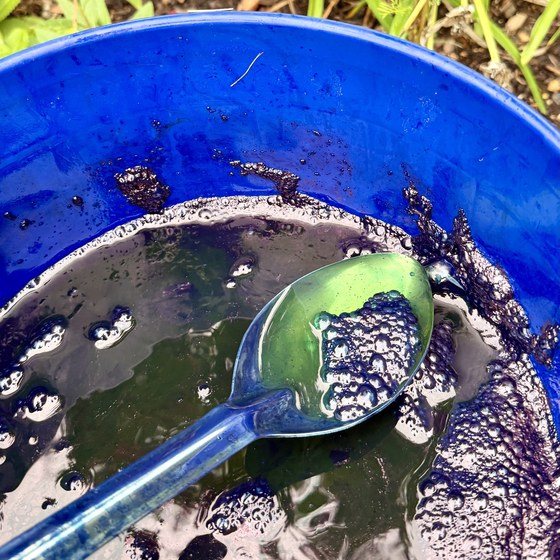
First I'm going to wash the napkins and get the vat ready. I like to give my cotton a gentle scour, but a hot wash in the machine is an option too. I'll show you the way I do it.
Module 3
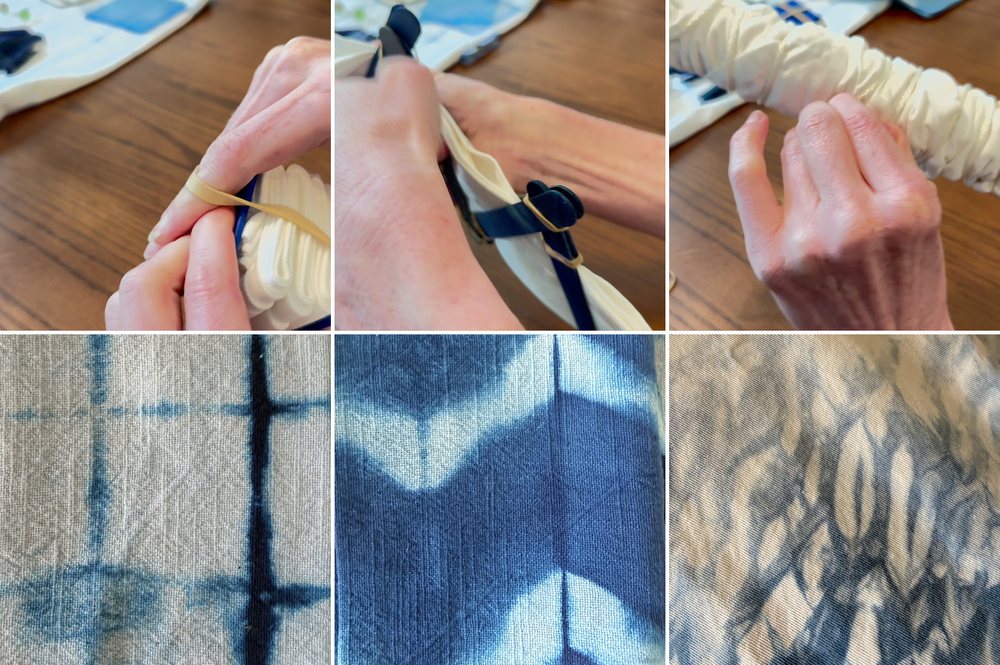
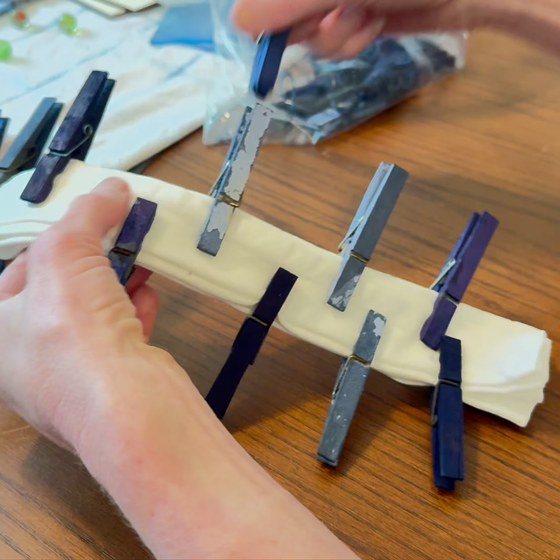
This is where we get to play with the patterns. I'll fold each style with you, starting with an accordion fold. Your napkin doesn't have to be perfectly square. Mine isn't, and we can still work with it.
Module 4
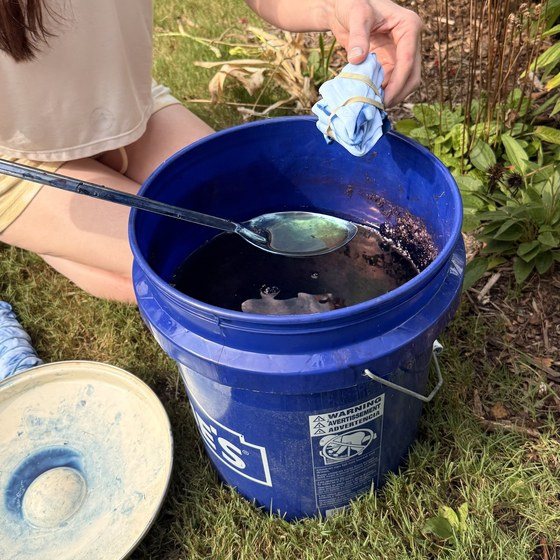
Now we're outside with the pieces we've bound. I've got water for soaking, the indigo vat, and a separate rinse pot. I love watching that greenish yellow turn blue as the pieces come out.
Module 5
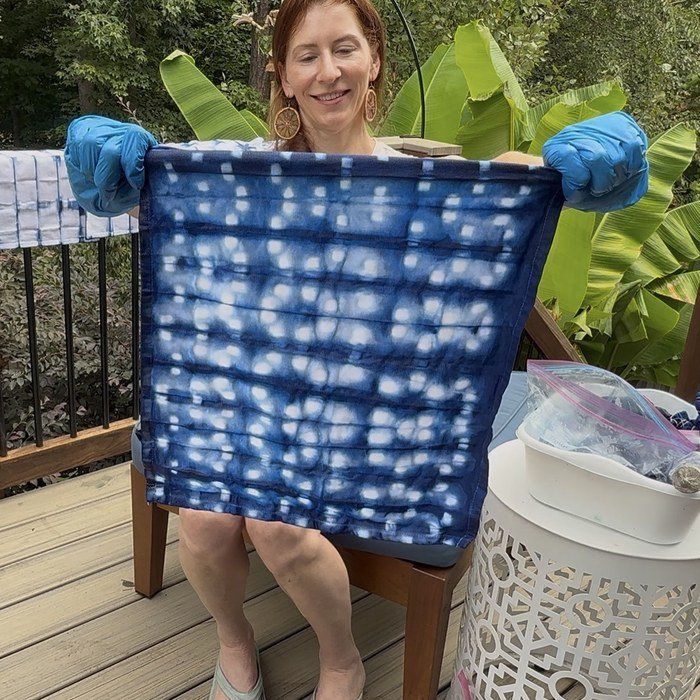
This is the part I've been waiting for. We'll take off the bindings and open up each napkin. Even when I've done a fold before, I still love seeing what it leaves behind.
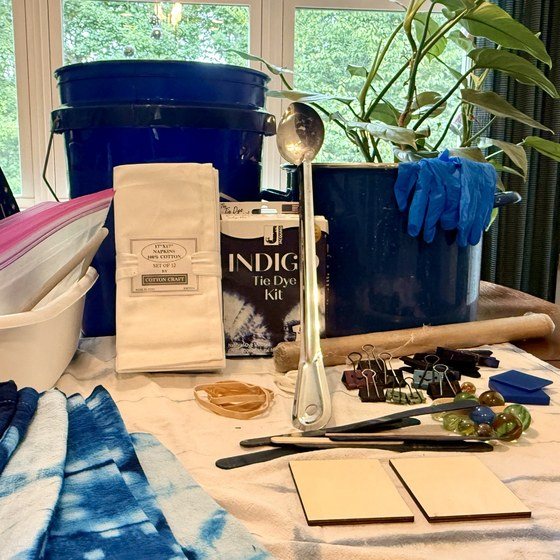
Have a look at what you've already got before you buy your supplies. For the patterns, I use things like clothespins, popsicle sticks and marbles. If you don't have wooden squares, you can cut your own from thick cardboard.
Included with the workshop
One payment. Lifetime access.
Watch the lessons at your own pace. Fabric, dye and equipment are purchased separately.
You'll see me tuck in extra fabric, work with pleats that want to spring open, and put clothespins on without spacing them perfectly. I love some of those irregular marks. We're trying a few different things and seeing what we like.
If you've tried tie-dye, you'll recognize the pinching and binding we use for kanoko. We'll also fold the cloth between squares and wrap it around a pole. It's fun to see how different those pieces look after they've been in the same vat.
I dye outside with my rinse water and garden hose nearby. You'll want somewhere to fold, a protected area for the bucket, and a place to put the pieces when they come out. I keep my dye pot separate from the pots I use for food.
I hope you enjoy making your napkins and opening up each pattern with me. If you find the workshop isn't for you, you can request a full refund within 30 days of purchase. Take a look through the lessons and see how you'd like to begin.
Yes. I'll start by showing you the supplies and the finished patterns, then we'll prepare the cotton and make the vat. The folding lesson goes through each style as I make it. These are simple ways to get started with shibori, and you can pause while you work on your own piece.
You'll need cotton or linen napkins, an indigo kit, a bucket with a lid, a long stirring spoon, gloves, and containers for soaking and rinsing. For the patterns, I use rubber bands, squares, popsicle sticks, clothespins, marbles, string and a wooden dowel. There are alternatives in the lessons, so you can work with some things you already have. The one-page PDF lists the supplies. Keep your dyeing utensils separate from anything you use for food.
The $47 is for the video workshop and supplies PDF. You'll buy your fabric, dye and equipment separately. Have a look through the supply list and check what comes in your dye kit before you shop. The cost will depend on what you already have and which supplies you choose.
I take my vat outside and wear gloves when handling the dye. Set up with good ventilation and protect the surfaces around you. Read and follow your kit's mixing instructions and safety cautions, including how to handle its powders. Keep the covered vat out of reach of children and pets, and use equipment reserved for dyeing. I show my setup in the first two lessons.
The process I show continues into the following day. First I wash and dry the napkins, fold them, and do the dyeing. Then I leave the pieces bound in zip-top bags overnight before unwrapping, rinsing and washing them. Allow time for those steps as well as the videos. You can also prepare the cotton and do the folding on a different day.
I've dyed my partner's old t-shirts, kitchen towels, linens and silk scarves. For this workshop, we're working on cotton napkins. You can try the folds on other natural-fiber pieces too, but check the fabric label and your dye kit's guidance for that material. A different size or fabric will give you a different result.
You'll see a couple of mine that came out mostly white. I used too much resist, so at the end I talk about wrapping them again and putting them back in the vat that afternoon. We don't do that second dyeing on camera. It gives you another thing to try if you'd like more blue in a piece.
Yes, it's $47 once for the workshop and supplies PDF, with no subscription. Your dyeing materials are a separate purchase.
You can request a full refund within 30 days of purchase under the workshop's money-back guarantee.
The workshop is offered with lifetime access, so you can come back to the videos when you're ready to make another set. Pause a lesson while you fold, or return to a demonstration you'd like to try again.
There are five prerecorded videos, about 67 minutes altogether, and a one-page supplies PDF. The folding lesson is about 31 minutes, so that's where we'll spend the most time. You can work through one technique at a time.
I'll show you how I prepare the cotton and mix my indigo vat, then we'll dye the pieces and open them up together. You'll see the results of the different bindings and the final rinse and wash I use. This workshop focuses on those napkins; we don't cover stitched nui shibori or making plant dyes from scratch.
Start with the first lesson and the supply list. You'll get to see the patterns before deciding which ones you want to try. Gather your materials, wash the napkins, and give yourself some room to fold. That's where we'll begin.
One payment. Lifetime access.
Five video lessons and the supplies PDF. Gather your materials, and we'll start with the napkins.
Last updated: August 2026
By purchasing and accessing The Shibori Dyeing Workshop ("the Workshop"), you agree to these terms.
License and access. Your purchase grants you a personal, non-transferable, lifetime license to the workshop materials. You may not redistribute, resell, or share your login credentials.
Intellectual property. All content, including videos, the supplies PDF, and images, belongs to The Shibori Dyeing Workshop and its creators. You may not copy or distribute any of it without written permission.
Refunds. A 30-day money-back guarantee applies. If the workshop is not for you, email us within 30 days of purchase for a full refund.
Cancellation. This is a one-time purchase with lifetime access, so there is no subscription or recurring billing to cancel.
Safety disclaimer. Indigo dyeing involves an alkaline dye vat and dye powder. Follow the safety guidance in Modules 1 and 2, wear gloves, and mix powder in a ventilated space. You accept responsibility for working safely in your own home.
Results. The workshop is educational. Outcomes vary with individual effort, materials, and practice, and we make no guarantee of a specific result.
Liability. To the maximum extent permitted by law, our total liability is limited to the amount you paid.
Last updated: August 2026
What we collect. When you buy the workshop we collect your name, email address, and payment information. Payment details are handled by our payment processor and are never stored on our servers.
How we use it. We use your information to:
Third parties. We do not sell, rent, or trade your personal information. We share data with service providers such as payment processing and email delivery only to fulfil your purchase.
Cookies and analytics. This site uses cookies and analytics tools to understand how visitors use the page. They collect anonymous usage data and do not identify you personally.
Your rights. You may request access to, correction of, or deletion of your personal data at any time through the contact address.
Get in touch with questions about the workshop, your access, or a refund.
[SUPPORT-EMAIL]